Instructions
Thank you
for your purchase of the SMRT Tach! We <3 you!
WARNING!
**You modify your bike at your own risk!**
Before you do anything **Disconnect the battery terminals**to avoid potential damage to the tachometer or your bike. Please take every precaution to ensure you do not hurt yourself or your property. Use your head, and get help if you are not comfortable doing these things.
You are doing electrical work on your ignition! Go slow and do it correctly. DO NOT CUT CORNERS.
If you have the Universal version, please continue with the Universal instructions even if you are installing on a DRZ400. Thanks!
Please do not splice the sensor wire into the ignition circuit. The Universal Tach will be damaged. Thanks!
The SMRT Universal Tach requires 3 wires to be installed. 12V Power, Ground, and the Signal Wire. Installation should take about an hour if you are moderately mechanically inclined.
Tools:
- Wire strippers and clippers
- Socket and screw driver set (to remove plastics and tank)
- Dielectric Grease (highly recommended for reliability)
- Isopropyl Alcohol Wipes (C3H8O)
- Crimp or Soldering tools (if you are soldering, we recommend a "lineman splice" and remember... "When in doubt, flux it out.")
1. You will need access to the ignition/key barrel and one spark plug.
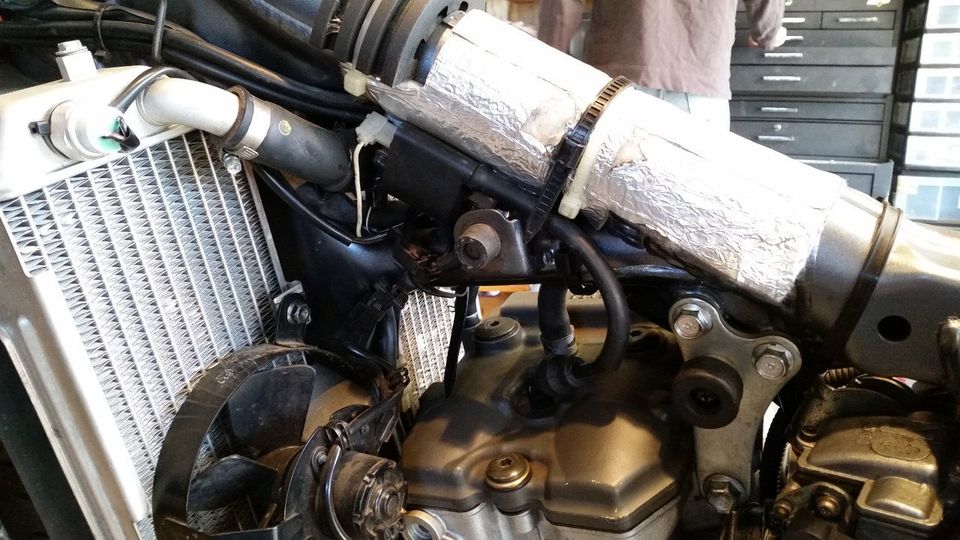
Disconnect battery, and remove the fuel tank and place it somewhere safe. Be sure to prop it up, so the petcock is not resting on the ground. Also remove the headlight shroud, cowel, or front plastics, and set them aside.
2.
Attach the +12V and GND to the appropriate wires.
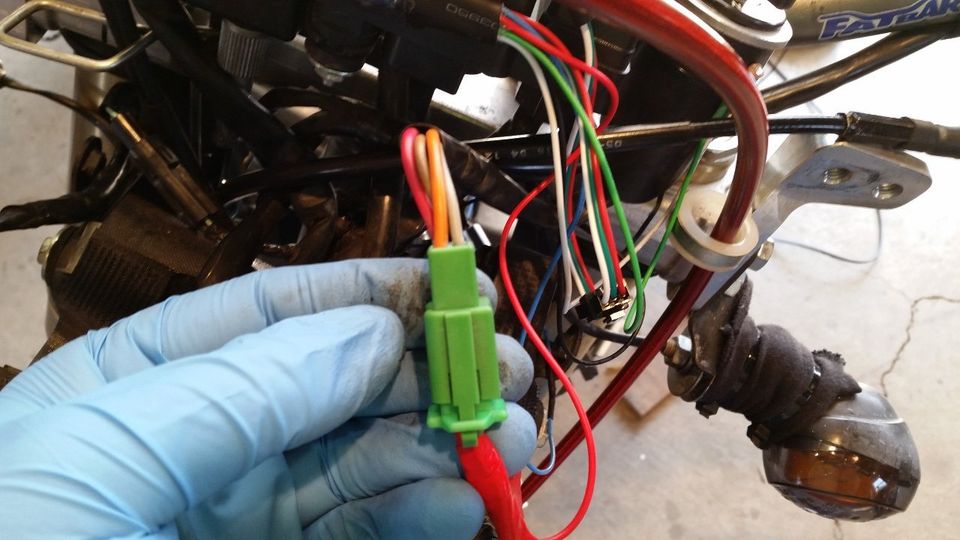
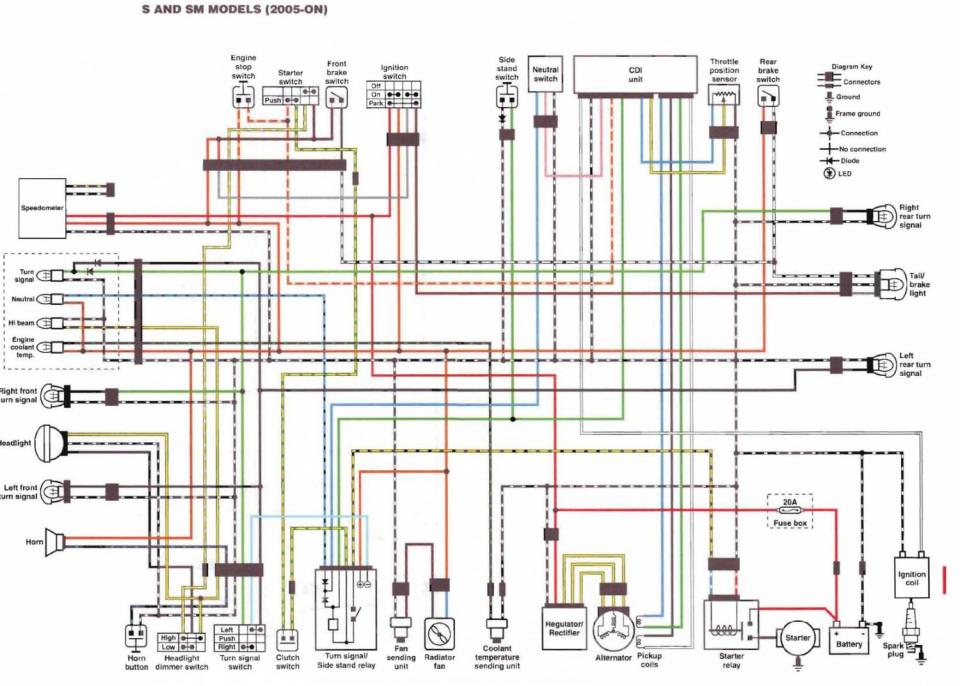
Most wire looms have an "ignition HOT" wire coming off the key barrel. This wire becomes HOT after the key is turned. You may also use a toggle switch. For GND we recommend running a wire directly to the battery. The nearest good FRAME GROUND is the radiator bolts.
NOTE: The red wire is battery + and will not work for our purposes.
NOTE: Any *Black wire with White stripes*
on the front end harness should be a ground. Please double check that it actually is a ground.
***DO NOT USE A FRAME GROUND ON THE FRONT END!***
(Grounding through the head bearing will make the tach act erratically.)
***TEST NOW! Temporarily attach the battery terminals, and test if the tachometer turns on. If it flickers or acts erratically, you should double check the wiring (especially the ground wire).
Seeing issues? Please visit the troubleshooting section at the bottom of this page.
Here is an example of the key barrel wire harness on a DRZ. The Orange wire is ignition HOT.
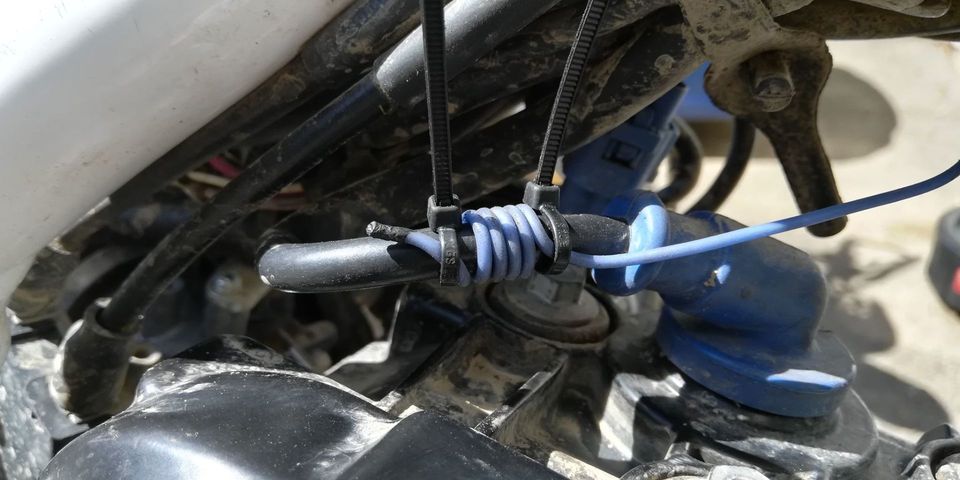
3. Signal Wire install. Wrap the signal wire around the spark plug wire 5 times (5X)
*** For Coil on Pack ignitions, like the Husquvarna 701 or newer KTM 690, you will have to splice into the GROUND wire on the coil pack. Or remover the rubber boot on the coil stick, and wrap the sensor wire there.
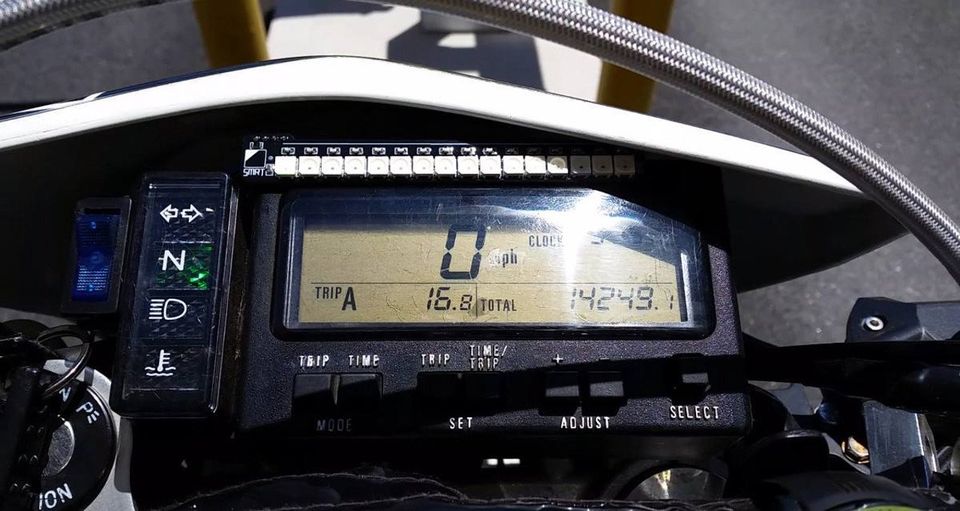
4.Position the Tach main body on the inside face of the instrument cluster and lightly press it into place. Put pressure on the outside edges of the board. A small amount of airflow is recommended to help keep the regulator cooler in hot weather.
**Now is a good time to test the Tach to see if you did everything right.**
**Double Check that wiring!**
5. Calibration:
Calibration
1. Warm up the bike. Bring the engine to operational temperature. Then shut it off.
2. Toggle the key (ON and then OFF) 4 times to enter "Learn Mode". The LEDs will blink BLUE twice to let you know you're in learn mode.
3. Start the bike and bounce the revs off the limiter for 2 or 3 seconds. The tach will record max RPM after 20 seconds (It will blink PURPLE) and enter normal tach mode.
Calibration Video here:
***TROUBLE SHOOTING***
Problem:
There are dead pixels. Some LEDs wont light up.
Solution:
Please contact Customer Service. info@SMResearchTech.com
Problem:
Bike will not start/no spark
Solution:
Make sure the signal wire is connected properly. If it is shorted/arcing, the low voltage spark signal will bypass the coil, and no spark will be generated. We highly recommend using a dielectric grease on the spade connector/signal wire.
Problem:
LED bar flickers.
Solution:Make sure GND is connected properly to a solid battery ground point. A frame ground on the front end will not work. The nearest good frame ground are the radiator mounting bolts.
Problem:
Inaccurate RPM reading.
Solution:
Make sure the signal wire is connected securely to the ignition spade connector. Also check that you have a secure 12V power connection. Do not wrap the blue signal wire around the white low voltage ignition wire. They must be parallel.
Problem:
LED is unstable, flashes on and off or will not detect spark signal.
Solution:
Make sure your battery is charged and your stator and rectifier are in good working order.
***OUT ON THE TRAIL***
Problem:
Bike got wet and wont start now.
Solution: The Tach is IP08 water proof, but in the unlikely event you believe the Tach is the culprit, cut and cap the blue wire (it can always be soldered back together). If the bike fell in a river or the ocean, you can remove the Tach from the ignition system by cutting the blue wire and capping it to make sure there are no shorts. If problem persists, inspect the spade connector on the coil pack also. Dielectric grease can help avoid issues like these.
Solution: The Tach is IP08 water proof, but in the unlikely event you believe the Tach is the culprit, cut and cap the blue wire (it can always be soldered back together). If the bike fell in a river or the ocean, you can remove the Tach from the ignition system by cutting the blue wire and capping it to make sure there are no shorts. If problem persists, inspect the spade connector on the coil pack also. Dielectric grease can help avoid issues like these.
Problem:
LED bar is dim. Will not adjust auto brightness.
Solution:
The Light detecting phototransistor was damaged. If in the unlikely event you looped your bike and the LED bar took a hard hit, the phototransistor may have been damaged. Please contact customer service for a replacement. This is not covered by our warranty, but we will provide replacements at a discount.
